We've been working a bit on our Redo/Repair/Remodel list and it's GNAT season!
No-See-Um Screens, Bath Fixtures, Fans...
Well, on the east coast, it's often gnat season. So we've been working on converting a couple of the porthole screens to gnat screens. After some research from other cruiser's blogs and Youtube, I came up with solution. We haven't put it to the real test yet but plan to soon. We learned from Carolyn Shearlock's blog, The Boat Galley to use wedding veil material! It is a lightweight fabric, not netting. So with our 50% online coupon we bought some at Joann's Fabrics.


We chose black instead of white as it allows a clearer view out and it seems to also provide a bit of privacy in! We cut the fabric about 2" larger than the existing screens, then doubling the edge over for extra strength, leaving an overlapping edge to fill in any of the gaps in the portholes, then glued the fabric to the metal screens. We tried several glues and the best one is I use to also glue linen panels to boards for my artwork! Above you can see the wet glued edge. Looks messy but dries clear.

On the back side or other side of the screen, I added some black Gorilla tape catching the fabric and metal parts for extra strength and support.

Here is the screen with "no-see-um gnat" fabric in place. The extra overlapping fabric fills in the gaps that the regular metal screen had. And the view is not compromised at all. We are hoping that incoming breezes won't be compromised either.


We made one for the forward hatch and the two side doors by simply attaching with velcro (by some simple hand sewing and more Gorilla tape) and they snap on with the existing fabric screens.
And for the main cabin way, we attached the fabric with glue and Gorilla tape to a slim strip of wood, kind of like a yard stick baton. Then velcro strips to the wood baton and the wood bar just inside the hatch that opens. Then we hand sewed some plastic coated weights from an old cast net to the bottom. Voila! It can sit just inside the doorway or outside. We need to test it in a breeze to see if it will work best in or outside the doorway. We are prepared with some small velcro squares to apply just inside the cabin way for full protection when we are not constantly going in and out. You can see how clear it is to look out but the view in is obscured. Can't wait to use them on a trip. Hope it works or it will be back to the drawing board!
Next up is the plumbing fixtures for both bathroom sinks and shower.
Here is the old one.

And here is the new one!
It was not easy. I could go on with a very long story about taking the old one off and installing the new one(s). After buying 4 of them between Home Depot and Amazon and after 4 days of attempting, we got one to fit. Then after buying new hoses for below, none which would fit.... well it got done. And no leaks!

Here is the old shower head and fixtures.


And here are the new ones! Unfortunately, the fixtures we wanted would not fit as the handle and plumbing is right next to the wall so the new one looks just like the old. It's just new!


View of master sink with new fixtures

And then we did the forward sink fixtures. The old faucet would NOT come out due to rusted/frozen on piping. I've been wanting to get the chain saw to do some remodeling and Bruce just says, no, no, no. But he got to use a version of a chain saw to get this one off! Its a "fine tool", Bruce says its just a chainsaw with finesse.

New faucet fixtures in forward head. Ok but we still can't use it because now the seacock plug has evidently separated from the shaft in the closed position, per conversation with Patrick at Groco. We discovered this as the water would no drain after our last haul out which "freed" the stuck seacock. To replace it will require a haul out which we just did this past summer and don't plan on doing it again for about a year. So for now, this will just look pretty.

Fans! We decided to add a couple of fans, which are 12 volt, 0.3 amps draw therefore great energy efficient.
One in the main salon....
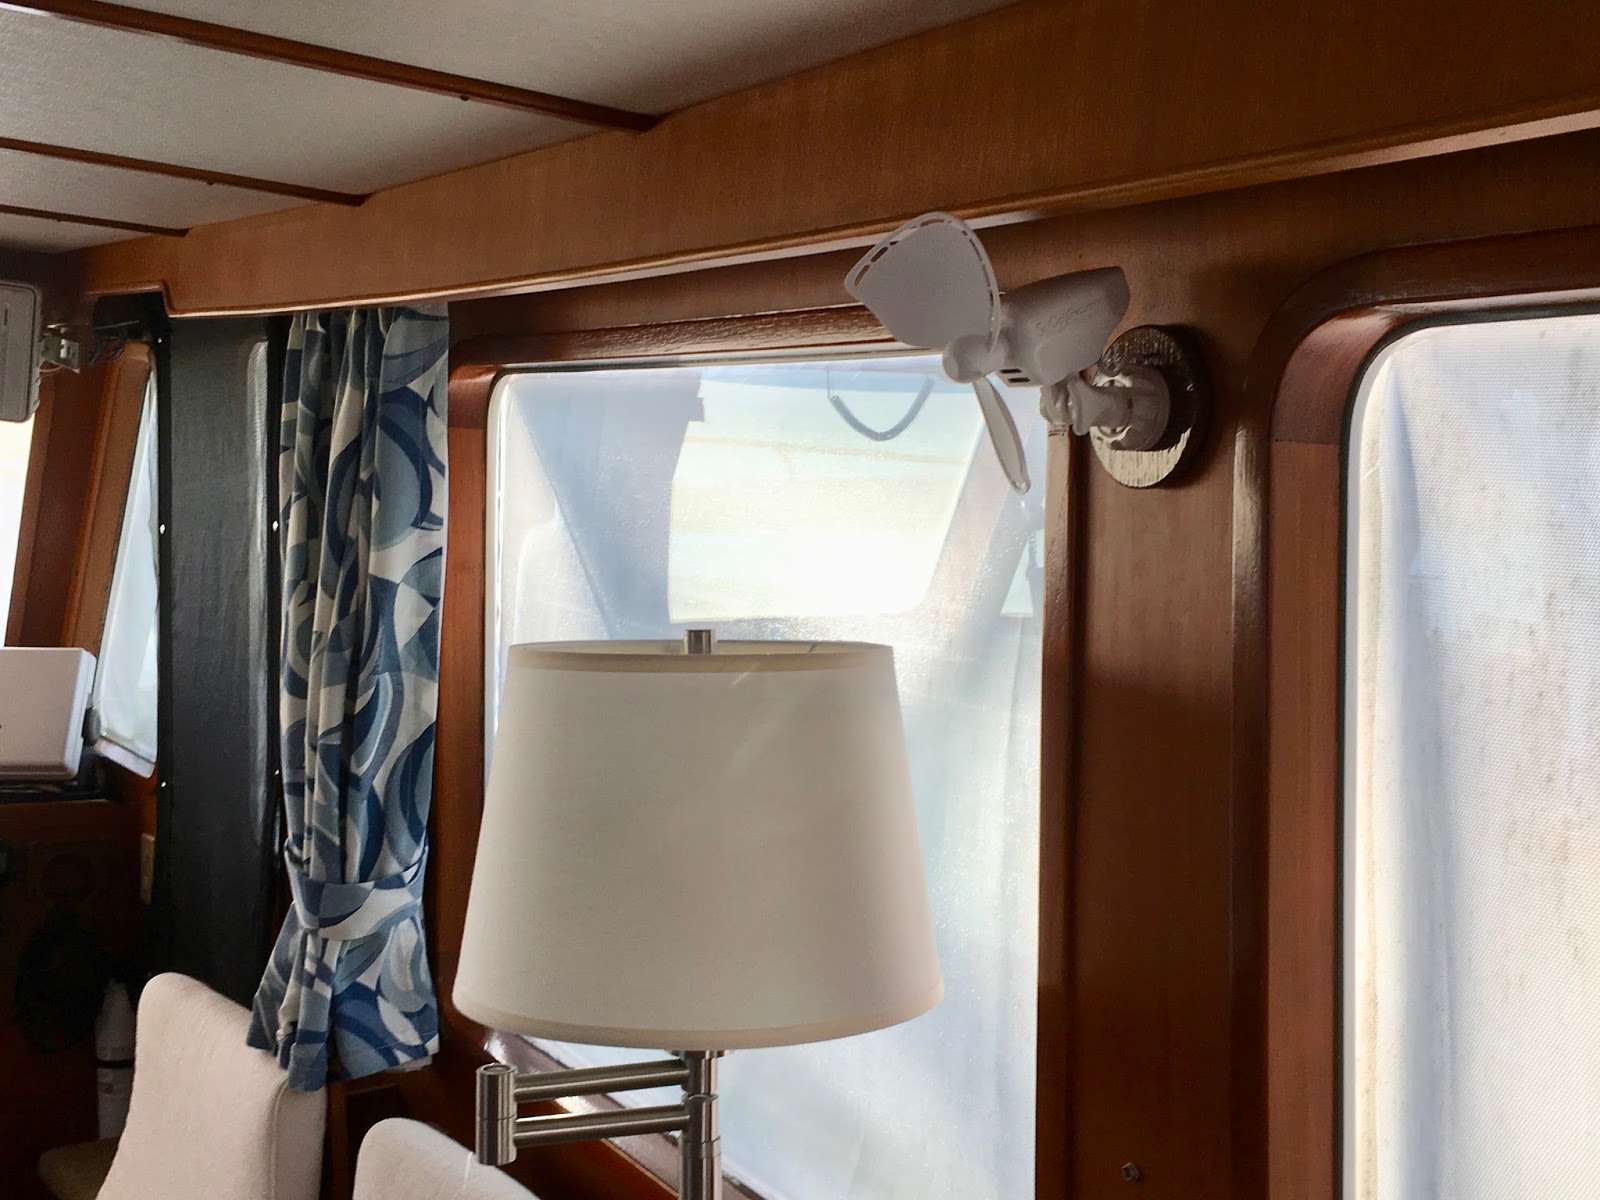
And one in the master stateroom. This one had to be wired to the 12 volt light that was already there. You can just see the wire running down from the light but it is tucked away behind the wood cornice. We chose one that clips on so we wouldn't have to drill any holes in the wood and we can also move this one a bit for more comfort adjustment.


We have one for the v-berth but not installed yet.
So, we will get to test this all out on our next trip out.
No comments:
Post a Comment